Occupy weaving frame
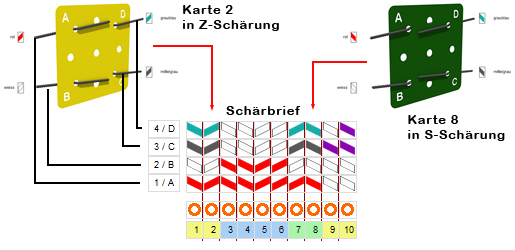
The page "Topping the boards" explains how the individual boards can be topped. This allocation is recorded in a warping letter. Each column means one board, each row means the corresponding holes on the card. It does not really matter how the holes and cards are named, it is only important that this is defined.
On this website I define it like this:
The upper hole that is closer to me is hole A. If I turn the card clockwise, i.e. forward, the lower, closer hole rises to the former position of hole 'A'. This new, upper hole is now 'B' and so on until hole 'D'.
On the left of the picture the card 'M2' is shown. The warp threads are warped in S as indicated by the SChärbrief. For example, warp M12 is warped in Z.
For this warp letter shown here, 10 cards are given. This means that a total of 10x 4 warp threads are pulled through the weaving boards in the respective S or Z warping. So 40 threads in total. With a future tape length of 2m, we need an additional 20cm of string for the beginning and the end of the tape.
Only for the warp threads we need: 10 * 4 * 2.2m = 88m cord.
12 holes are covered with red = 26.4m
17 holes are covered with white = 37.4m
4 holes are covered with grey = 8.8m
4 holes are covered with olive = 8.8m
and 3 holes are covered with purple = 6.6m
I personally use three different board colours. This helps me to get some clarity when weaving. In the example above, I use yellow cards for the border stripes, blue for the two-colour stripe (red/white) and green for the four-colour stripe.
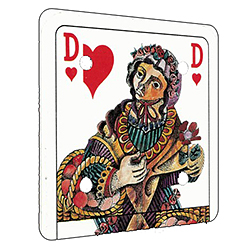
Cards are very easy to make yourself from playing cards.
The warping of the weaving frame takes time.
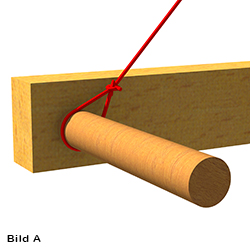
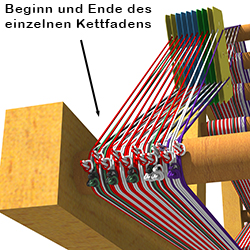
I pass the first thread through hole A of the first card and tie a small loop at the end of the thread. I attach this loop to the lower wooden rod of the weaving frame.
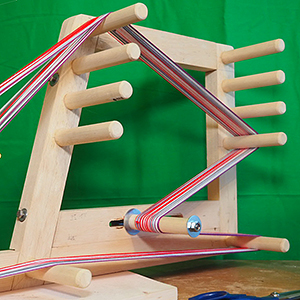
After the first thread is attached to the weaving frame [picture A] and the card is covered with the correct warp, I pass the thread around the wooden spars, including the tension spars, of the weaving frame and then come back to the starting point. Here I cut the thread a little generously.
The next warp threads are always passed through the card first, before it is linked to the end of the previous, cut thread. This creates a large number of buttons on the lower wooden rod.
I link the end of the last thread with the loop made at the beginning, which I undid beforehand. This unravelling is important because otherwise all the warp threads cannot be moved on the frame.
With the tension spars I now create a good tension on the ribbon.
